How to Create, Share, and Manage Broadcasts
Broadcasts is a powerful new feature in Whereabouts that allows you and your teammates to share resources directly with members who have login access to your Whereabouts account.
Want to send an important message to your entire member base? Share a photo collection with key collaborators? Post that shiny new video for all to see? You can do it all from Broadcasts. And the cherry on top? We track engagement, giving you aggregate and per-user stats for every Broadcast you share.
In this article, we’ll take a close look at creating, sharing, and managing Broadcasts.
Creating a Broadcast
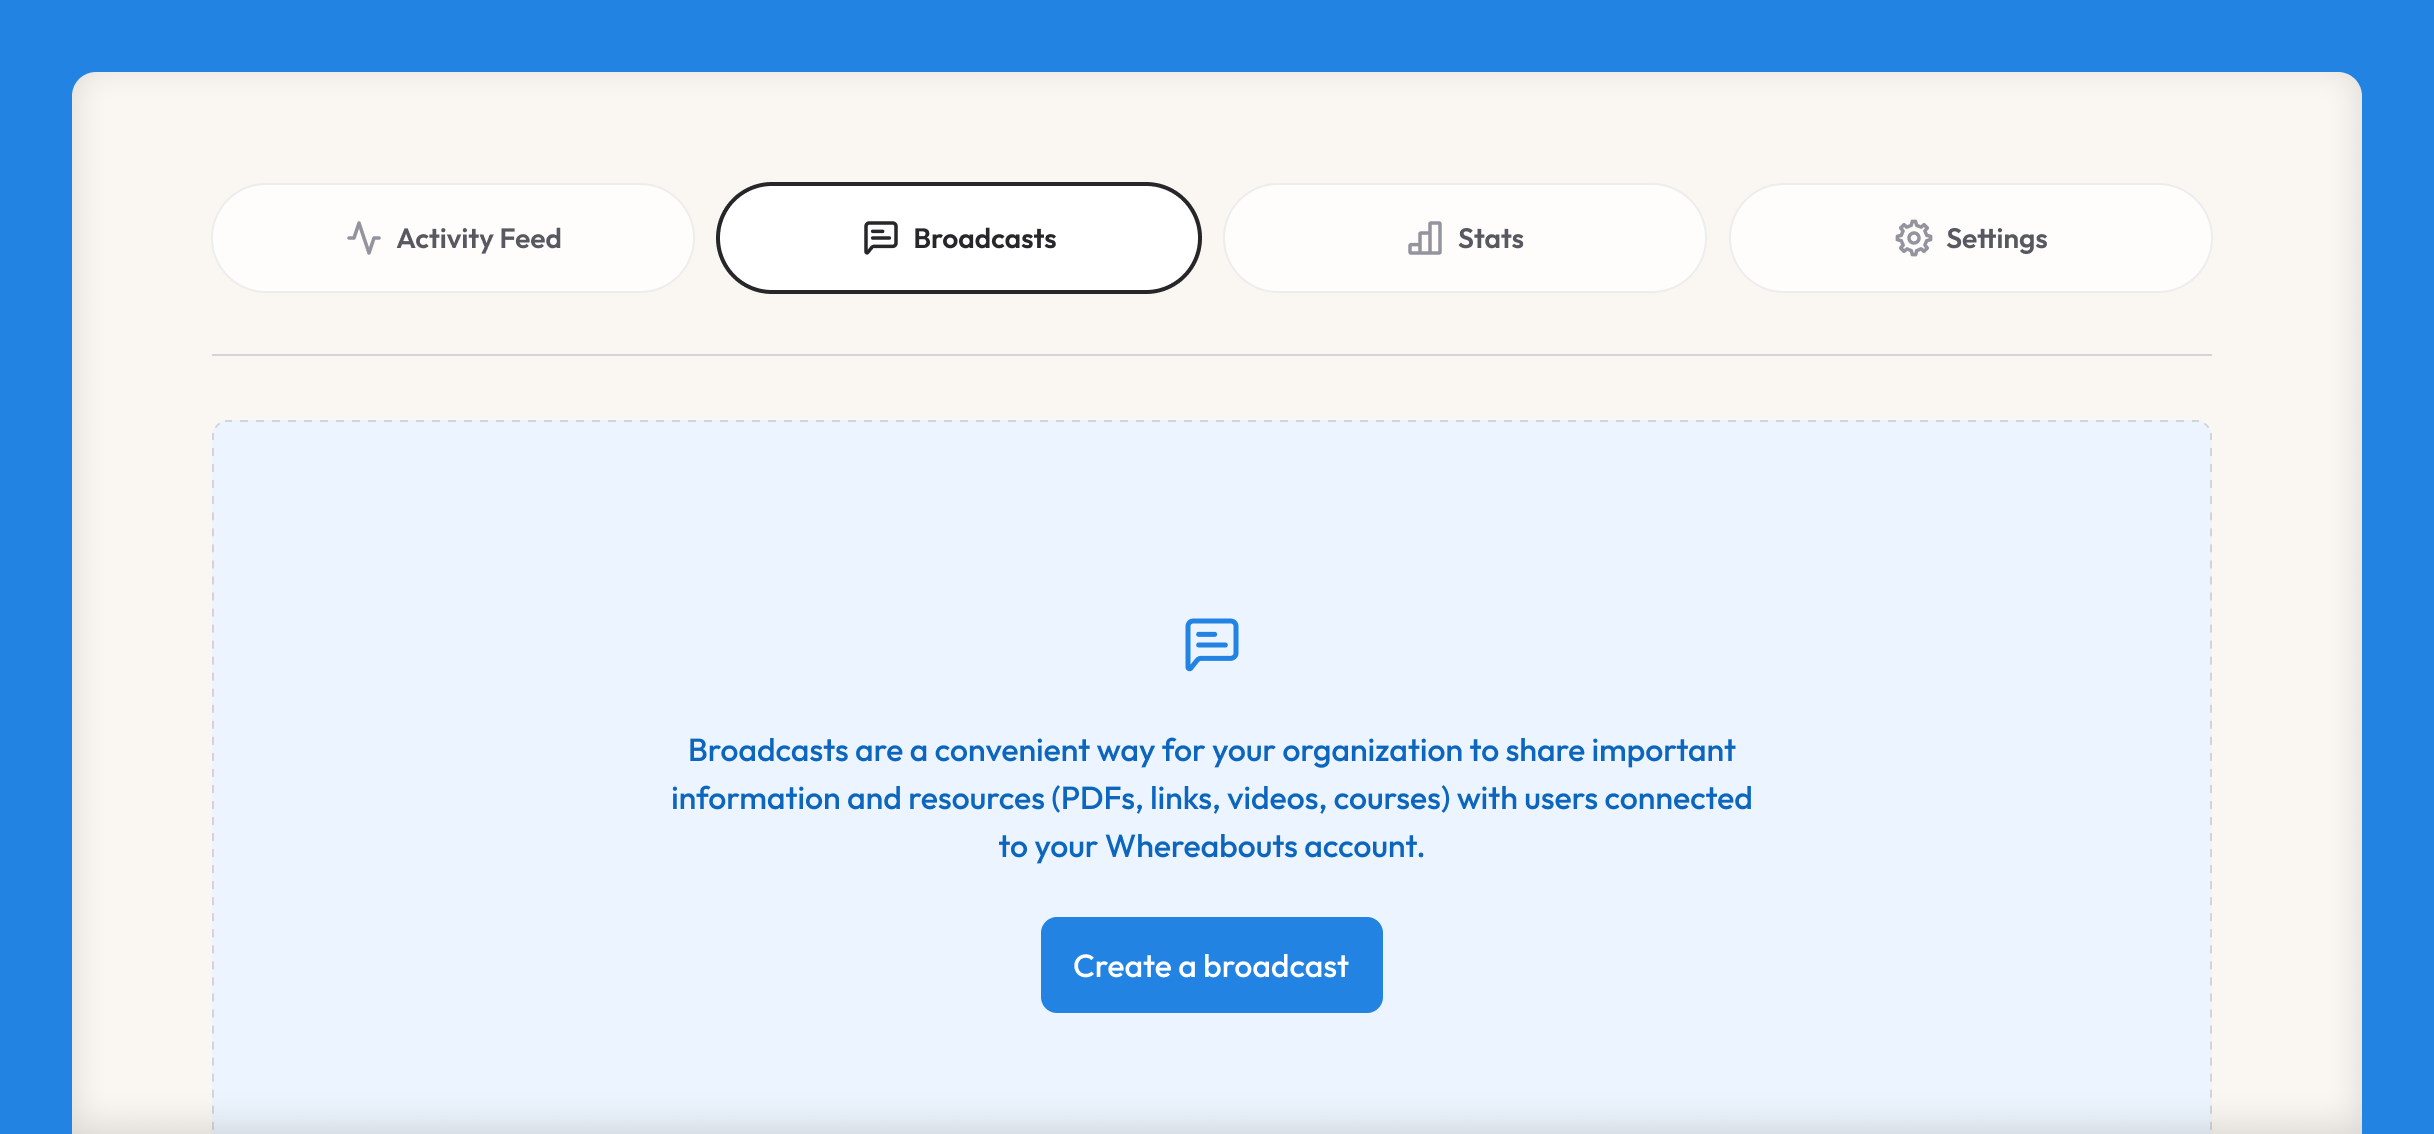
In your account’s Headquarters, you’ll now see a Broadcasts tab; this is where all your Broadcasts — in both draft and published states — will be collected.
To create your first Broadcast, click the button:
The first step is to give your Broadcast a name. Next, add one or more Resources.
Resources
Every Broadcast needs to contain at least one resource. We have various resource types to choose from, and you can mix and match as needed:
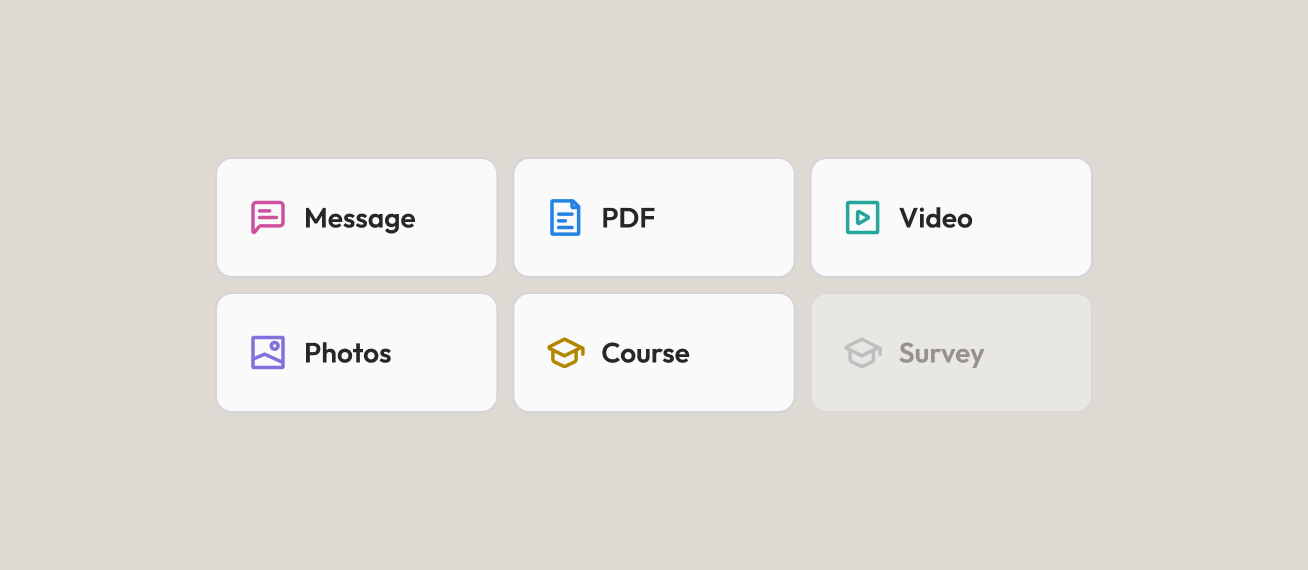
- Message: Create a rich-text message, which can be as long or as short as you want.
- PDF: Upload and share a
.pdffile. - Video: Upload or link out to a video.
- Photos: Upload a photo collection and make it available for download
- Course: Upload a course and offer it directly to users within Whereabouts.
For each resource you create, you can give it a name, write a short description, and upload a cover image.
Single-Resource Broadcasts
If your Broadcast consists of a single resource, you’re pretty much done! In its published form, we’ll display the name, description, and optional cover image for your resource. At the bottom of the Broadcast creation slide-out, click on the Preview button to see exactly how your Broadcast will appear to recipients.
Multi-Resource Broadcasts
If your Broadcast consists of multiple resources, an additional section will appear called Collection Info. Here, you can
- Give your collection of resources an alternate public name (if left blank, we’ll use your Broadcast’s default name)
- Write a description
- Upload a cover image
Preview
At any point, you can click the Preview button in the Broadcast creation slide-out to see how your Broadcast will appear to recipients.
Sharing a Broadcast
When you’re ready to publish your Broadcast, click the Share button in the top-right corner of the creation slide-out. This will open the Share modal:
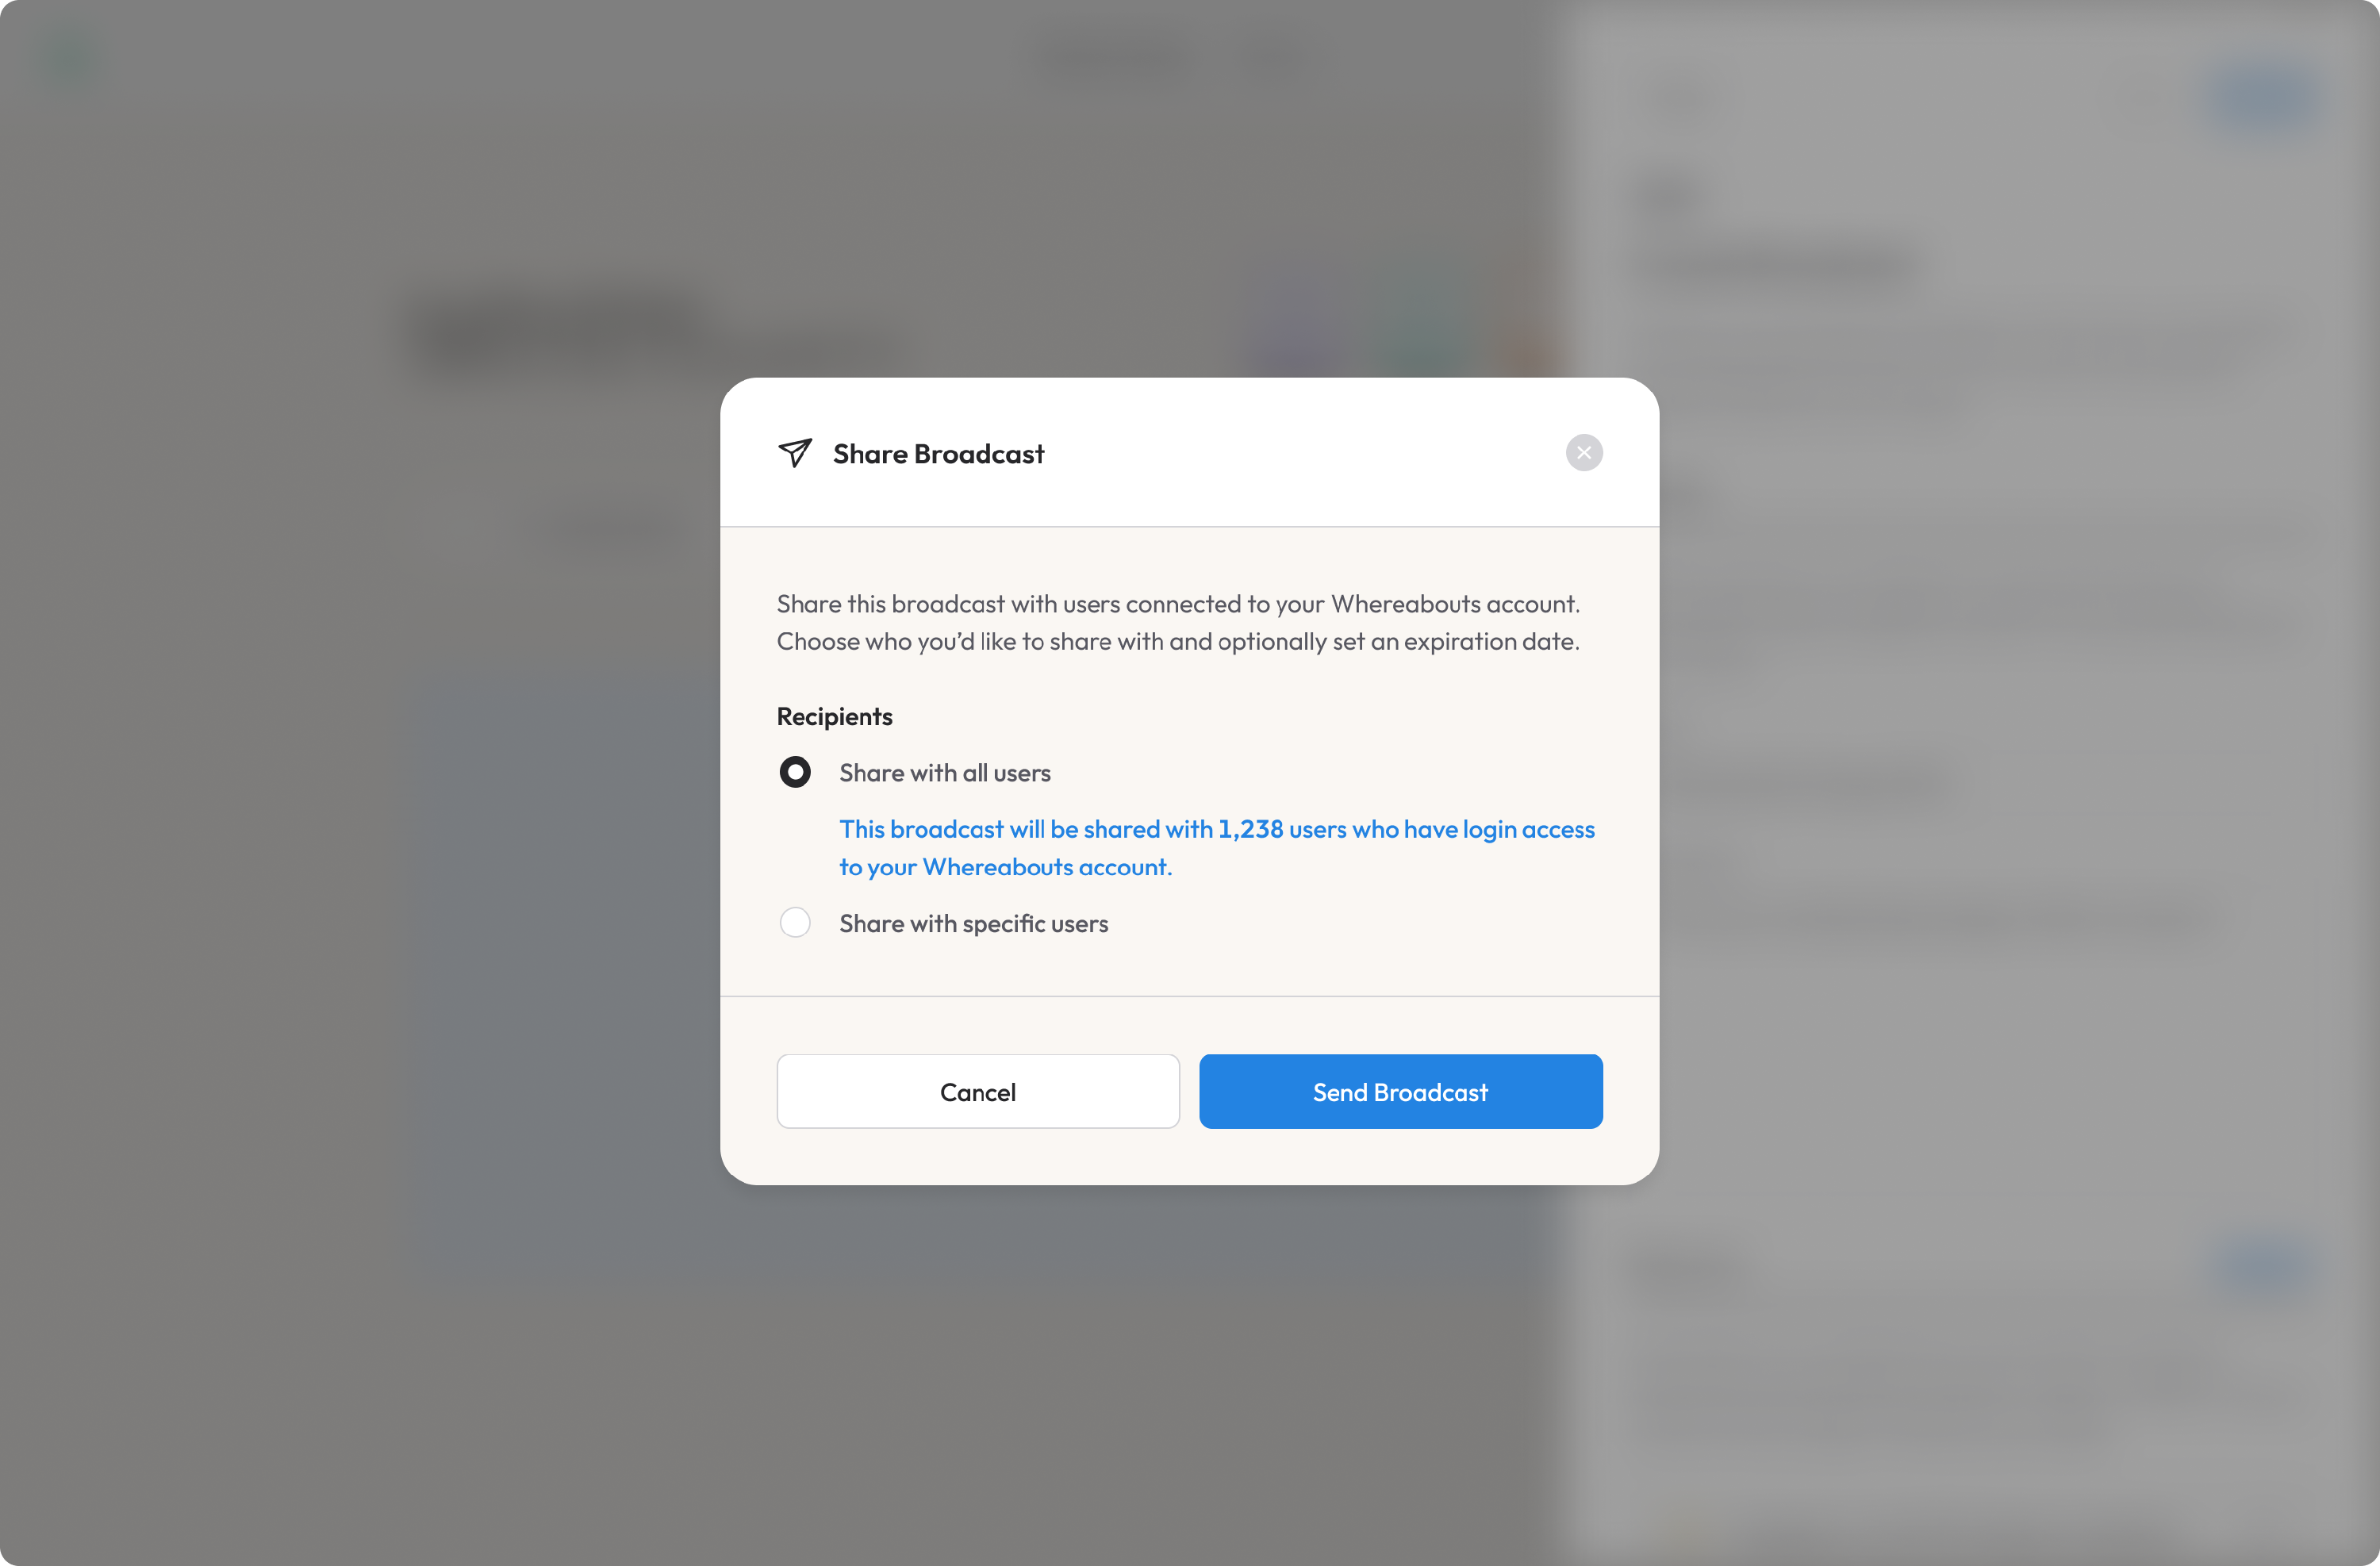
In the Share modal, you’ll see options to specify who you’d like to share this Broadcast with. You can either share it with...
- All member users who have logins to your Whereabouts account, or
- With smaller, more targeted segments of users. These segments are based on custom tags that have been applied to individuals in your People app.
If you haven’t yet set up custom tags in your People app, you’ll need to do that first. For more information, see the People documentation.
Managing a Broadcast
Changes to your Broadcast can be made even after you've published it.
If you modify one of its resources (like changing the content of a message or replacing a video link, for example), recipients will be made aware of the update:
With multi-resource Broadcasts, you may also delete individual resources as needed.
Updating a Broadcasts' Audience
After you've published a Broadcast, you can always edit its audience. This is helpful if you later want to share a Broadcast with a larger group of people or disable access to certain users without needing to unpublish or delete the entire Broadcast. Clicking the Update Audience button when editing a published Broadcast will simply re-open the Share modal:
Unpublishing & Deleting
To fully block access to a Broadcast, you have two options:
- You can Unpublish a Broadcast. This is helpful if you want to re-share it at a later date.
- Deleting a Broadcast will fully remove it from your account. This action can not be undone.